In this guide, i’ll explain How To disassemble Asus UX303LN, i will
remove battery, wireless card, keyboard, palm rest, hard drive, heat
sink, cooling fan and motherboard, refer on this guide, you can repair,
clean cooling fan, upgrade RAM, SSD for your Asus UX303LN.
Asus UX303LN teardown step:
remove all the screws from bottom case.
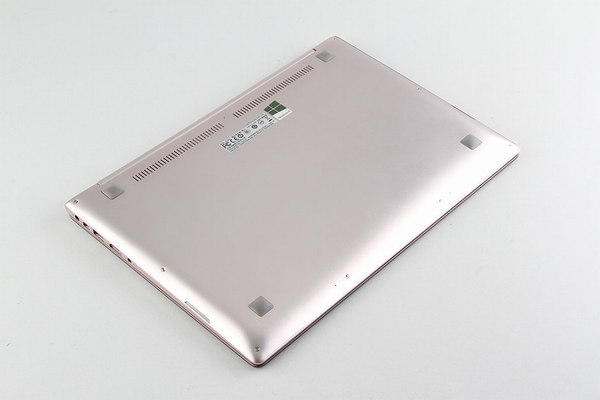
pry up the bottom case with a pry bar, lift up the bottom case and remove it.
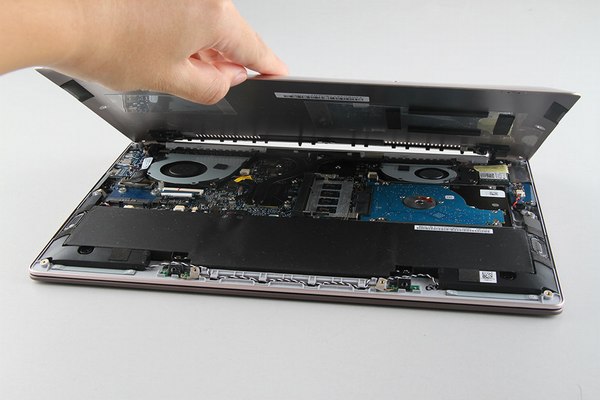
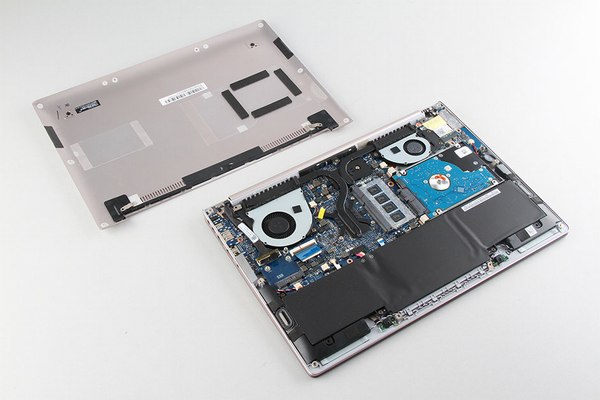
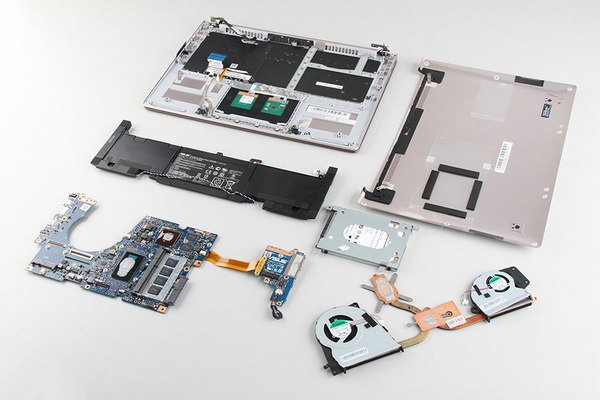
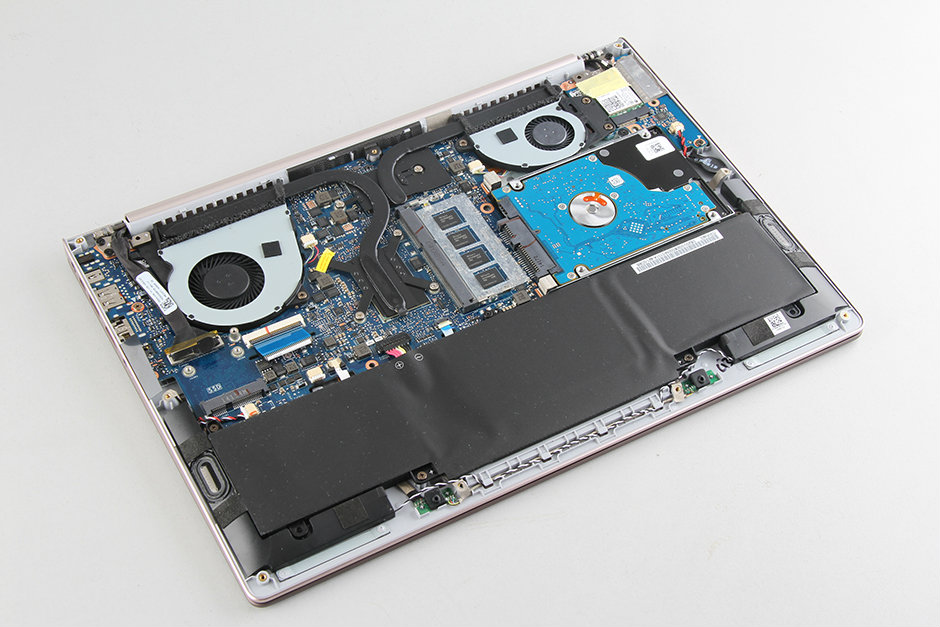
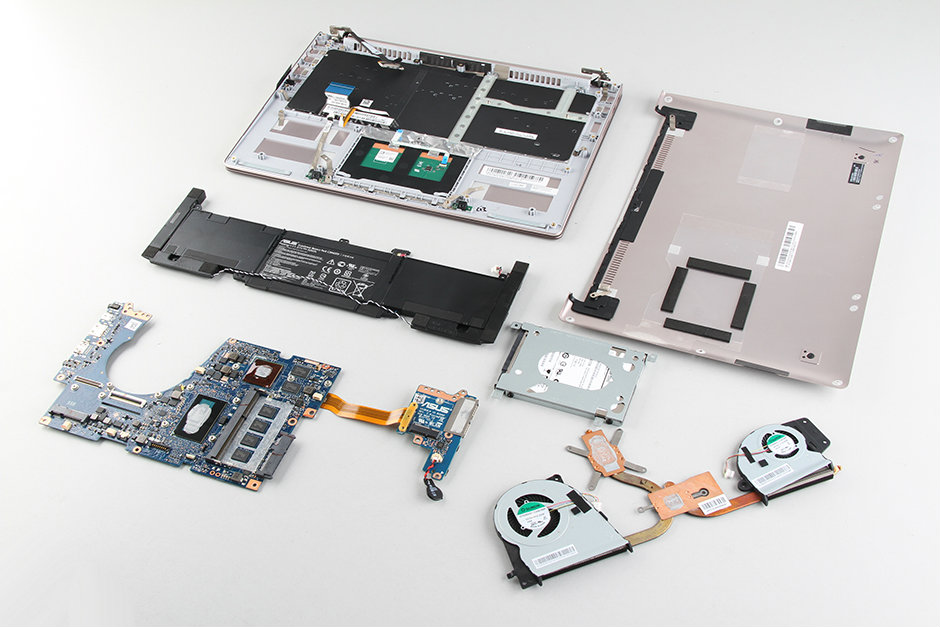
after the bottom case was removed, we can get access the battery, speakers, wireless lan card, hard drive, heat sink and cooling fan.

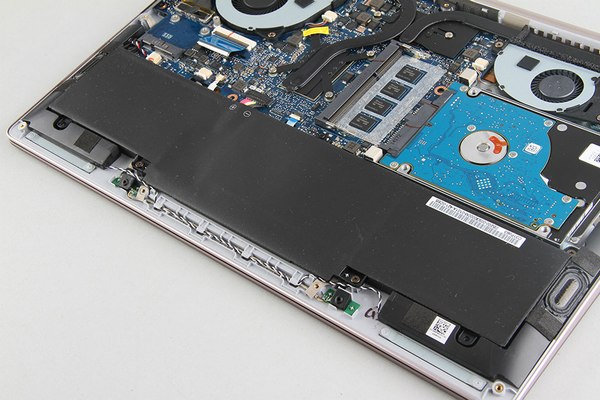
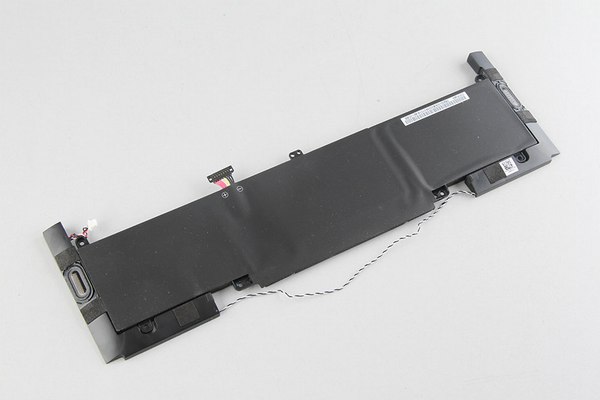
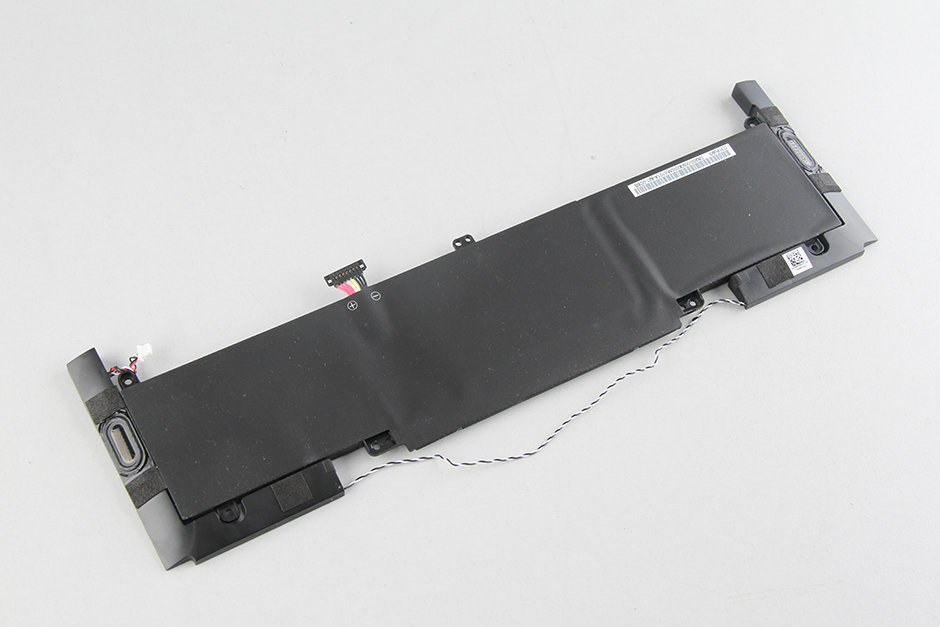
remove the screws securing the battery, and disconnect the battery power cable and two speakers cable
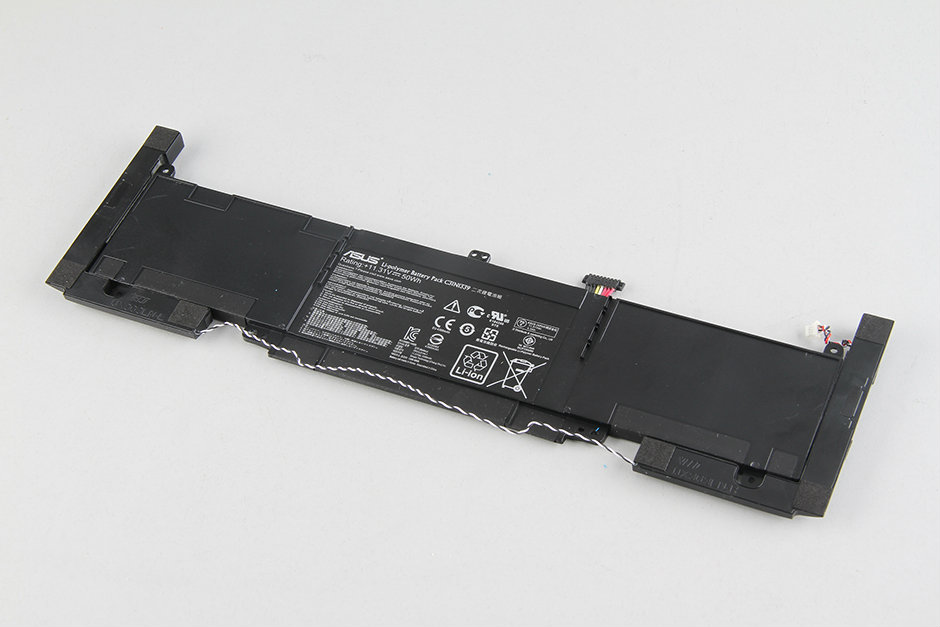
Asus UX303LN battery has been removed
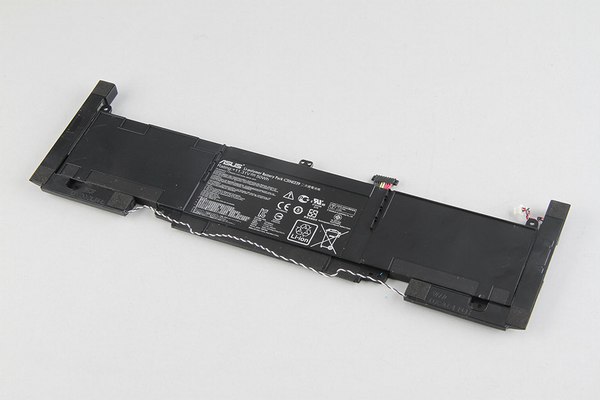
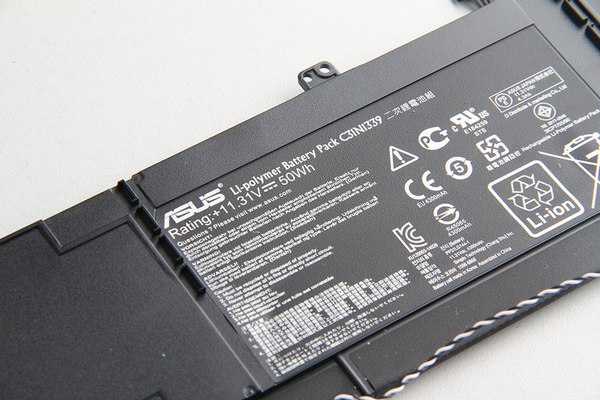
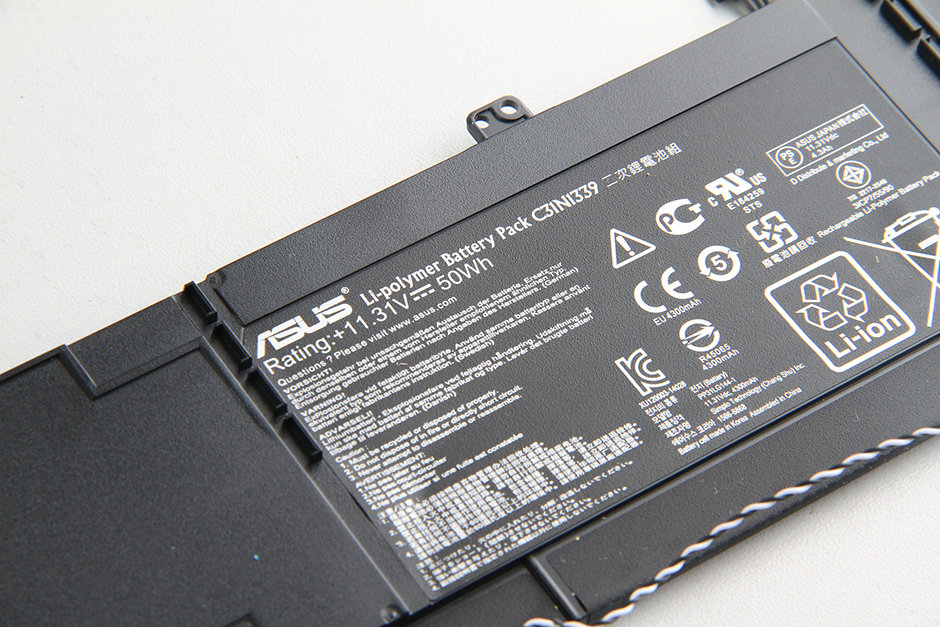
Asus UX303LN come with a 11.31v, 50wh li-polymer battery, asus p/n: C31N1339
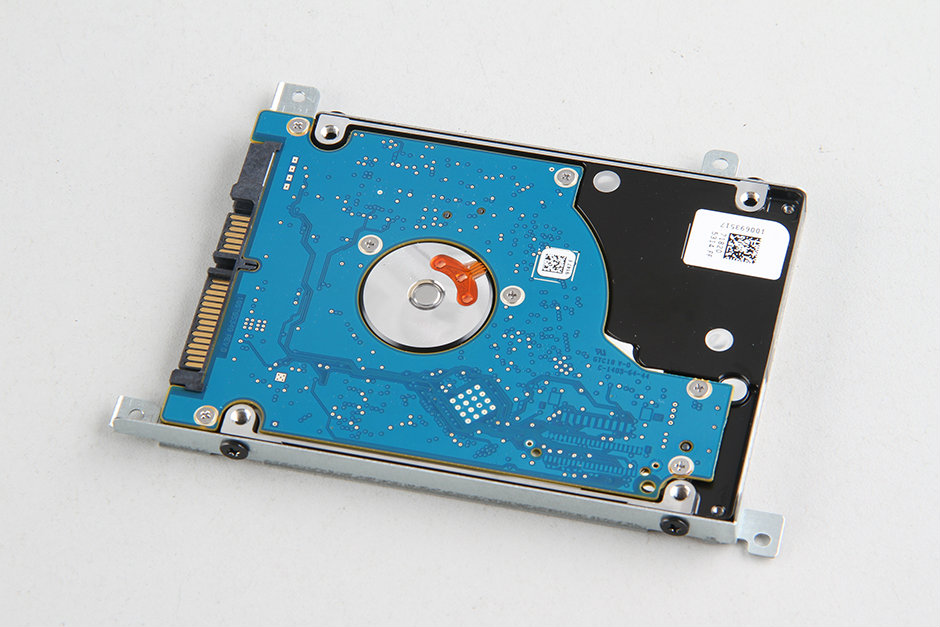
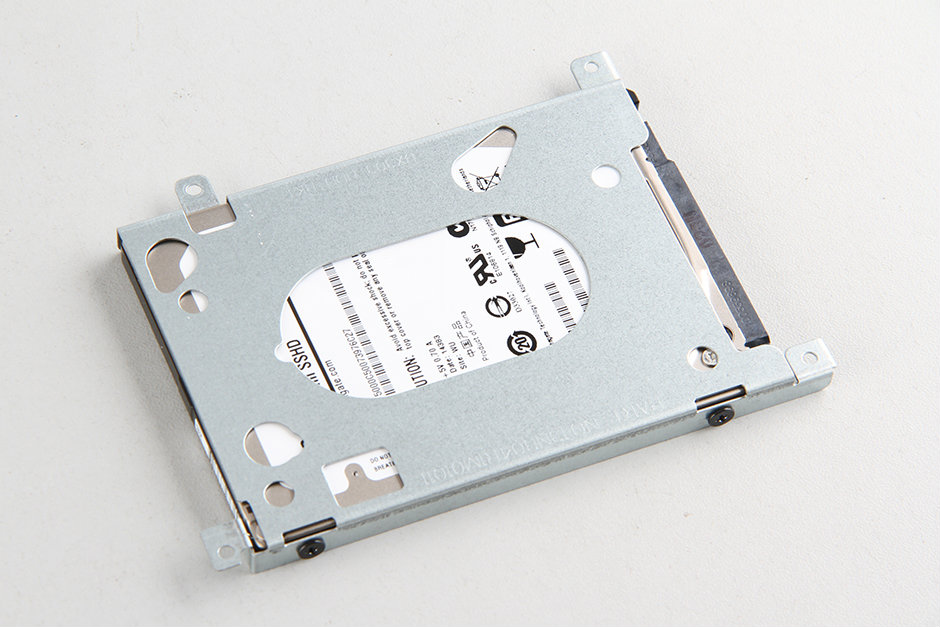
remove the screws securing the hard drive
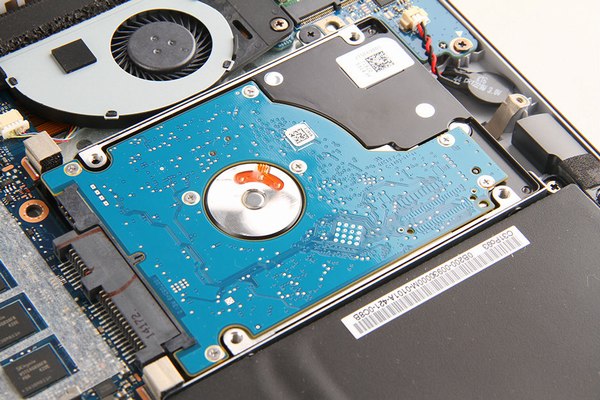
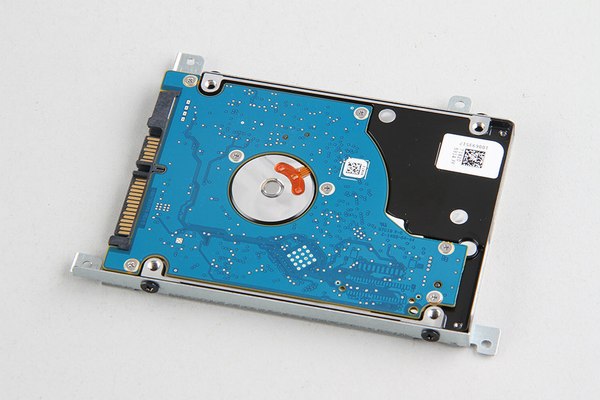
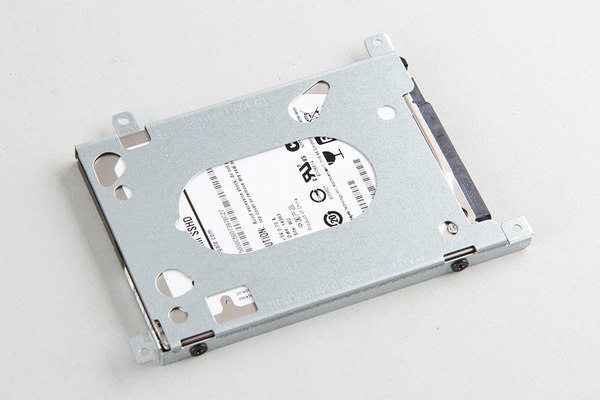
Asus UX303LN come with a seagate 500GB hard drive
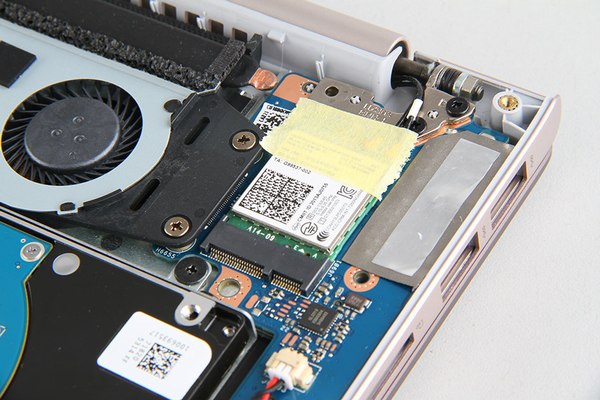
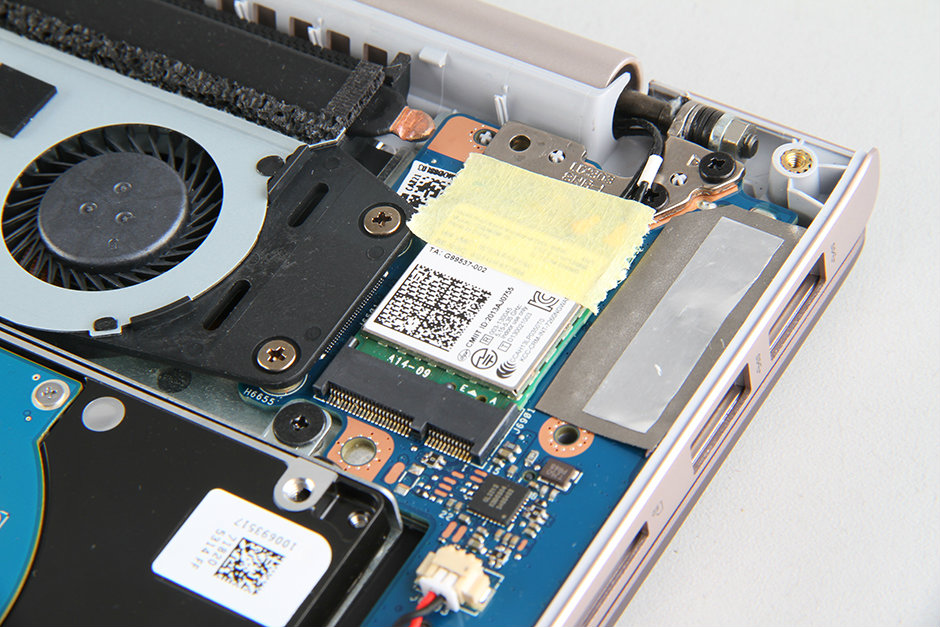
Asus UX303LN provide a spare mSATA port for users upgrade SSD.

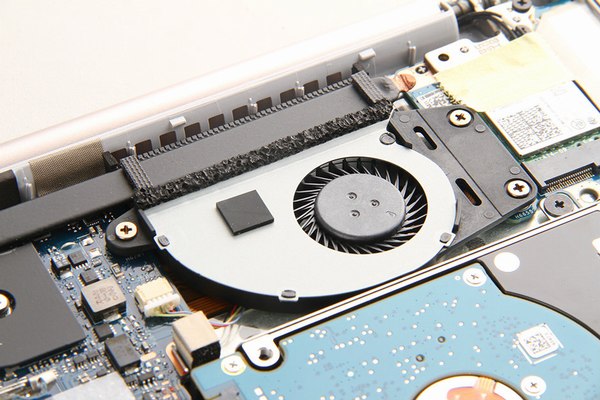
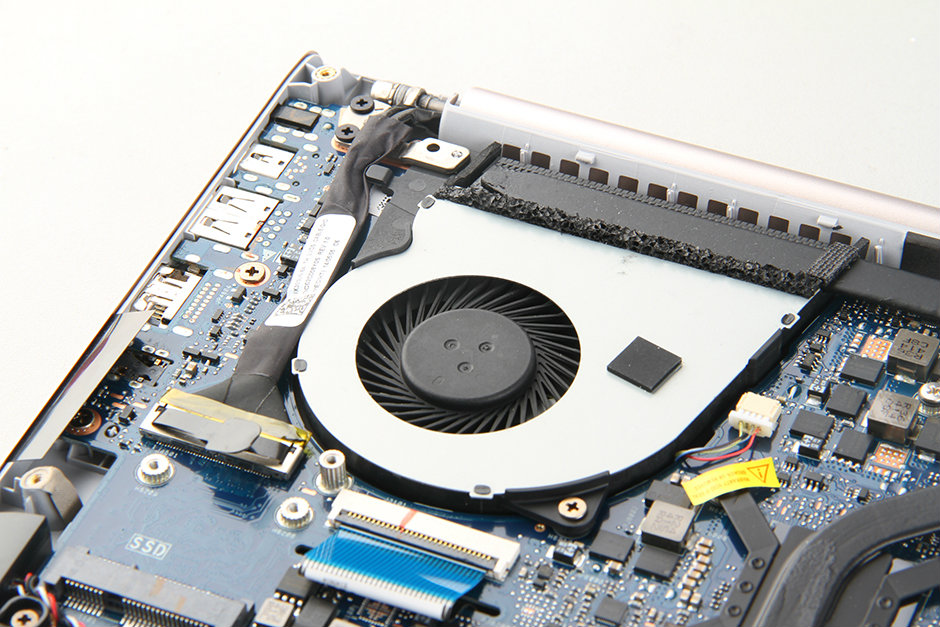
the right cooling fan
Asus UX303LN wireless card
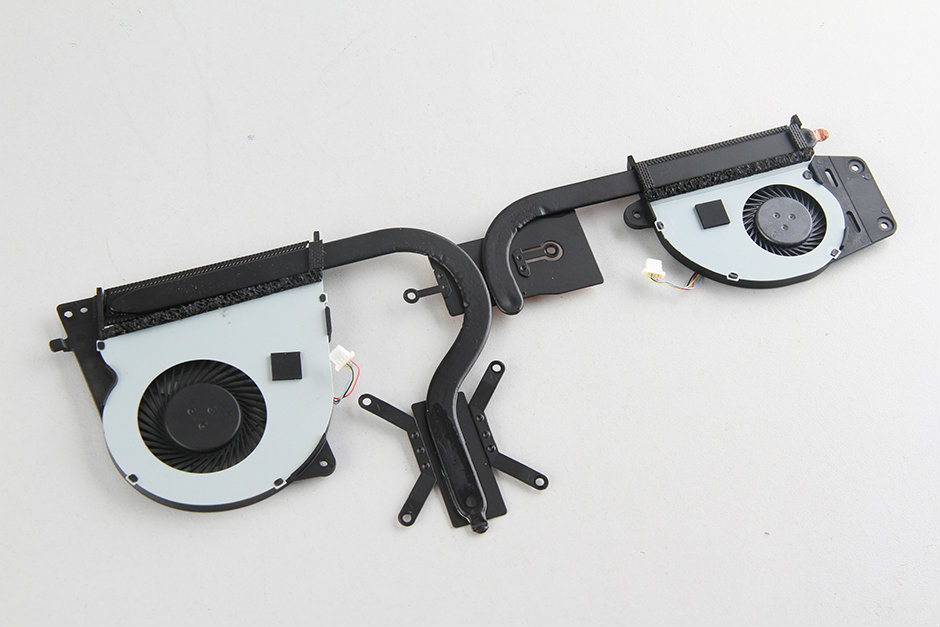
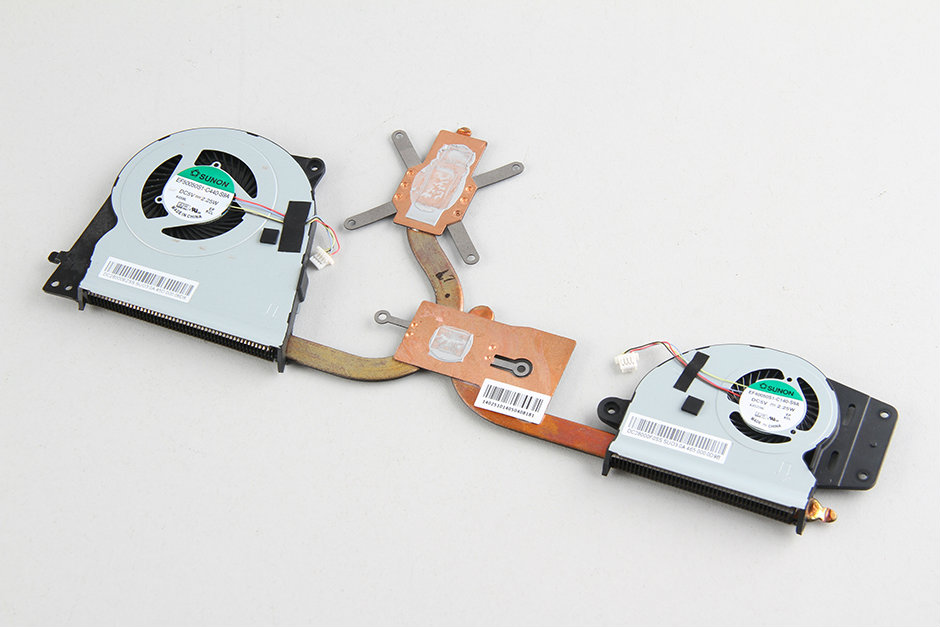
Asus UX303LN heat sink and cooling fan
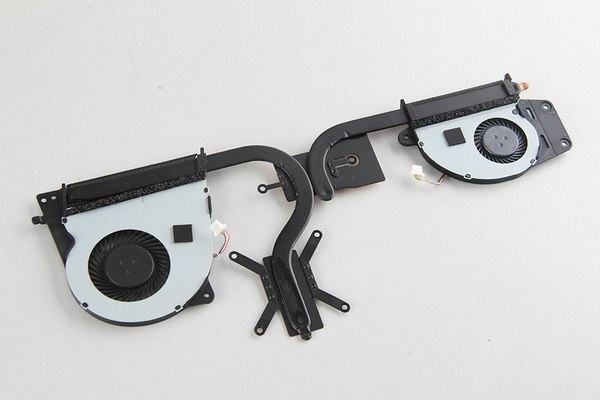
the cooling fan come from SUNON

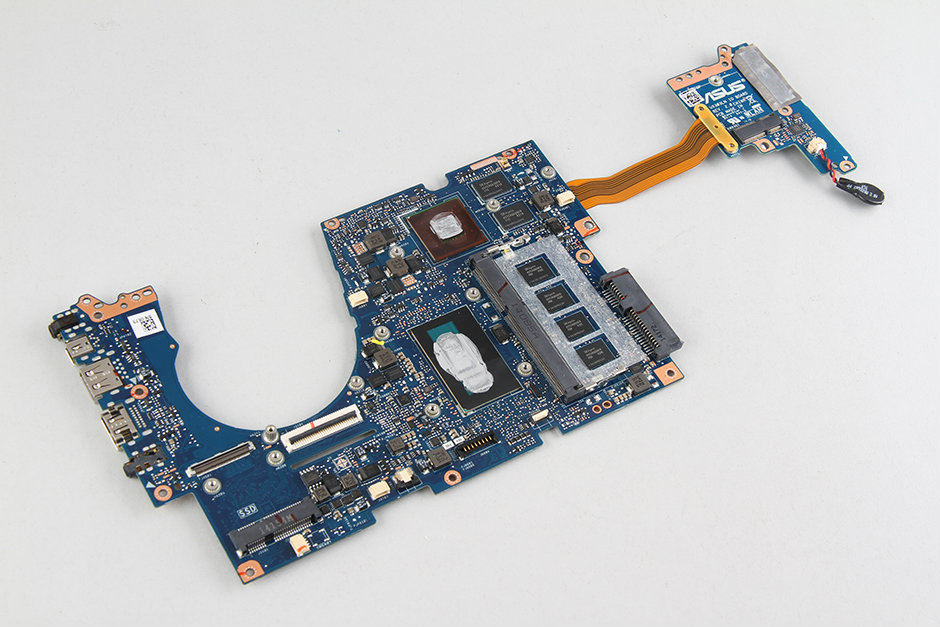
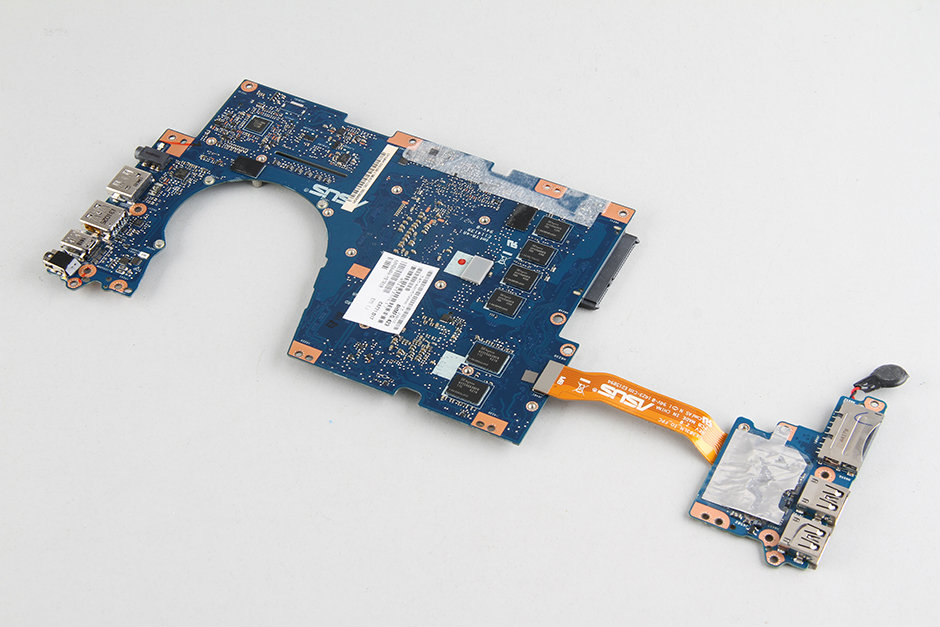
Asus UX303LN motherhboard
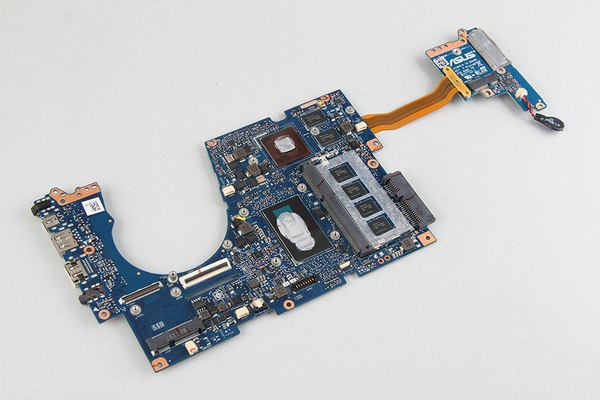

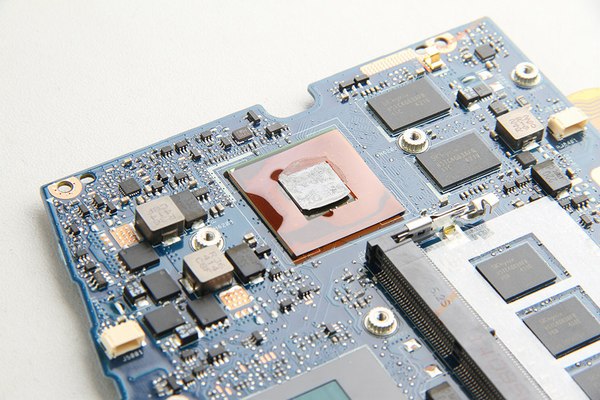
NVIDIA GeForce GT 840M with 2GB DDR3
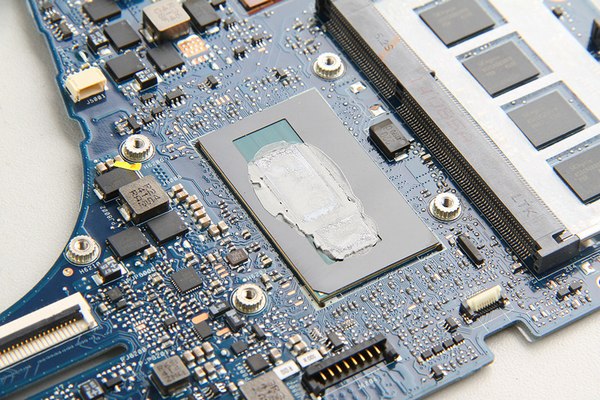
Intel Core i7 4510U Processor
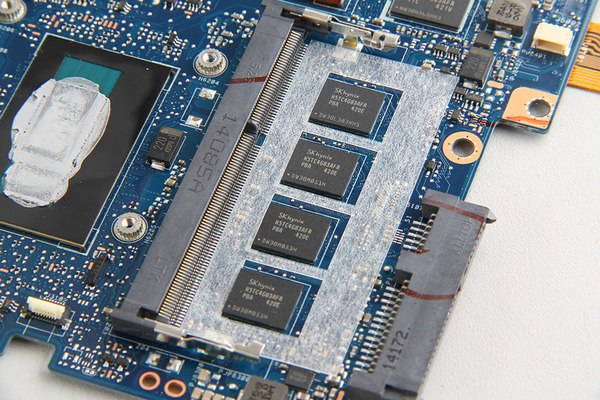
4 GB SK hynix RAM Memory Integrated On the motherboard
Asus UX303LN also have a spare ram slot
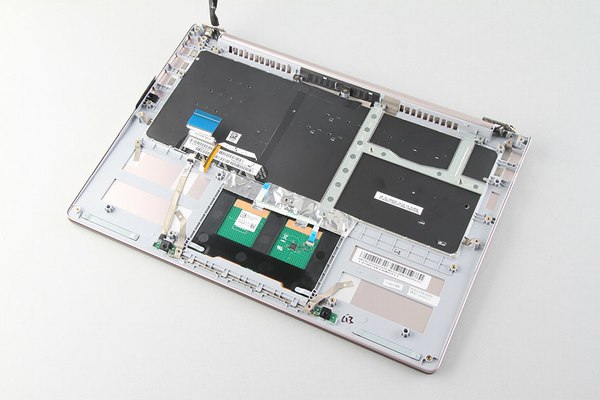
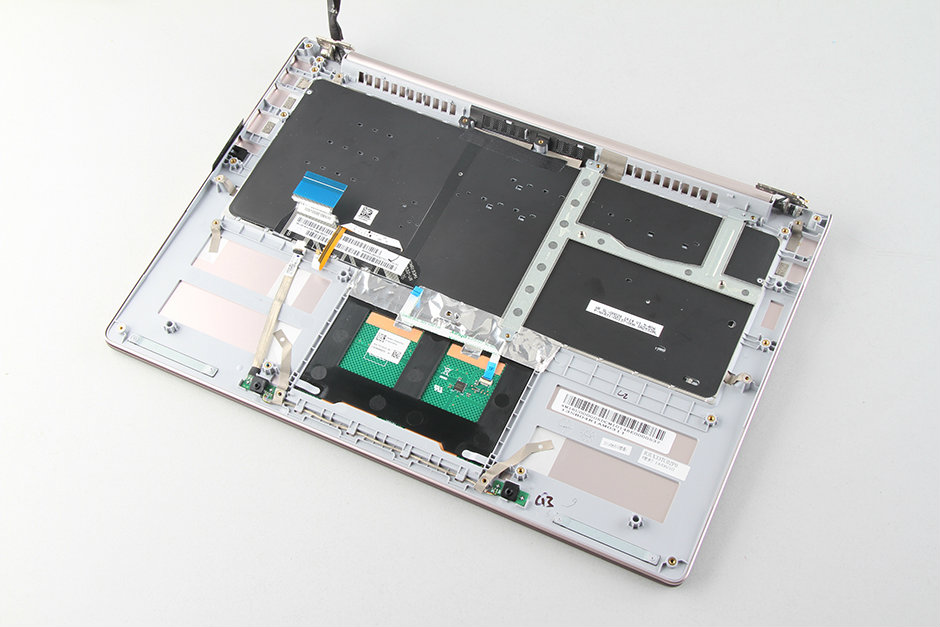
Asus UX303LN plam rest
Asus UX303LN teardown step:
remove all the screws from bottom case.
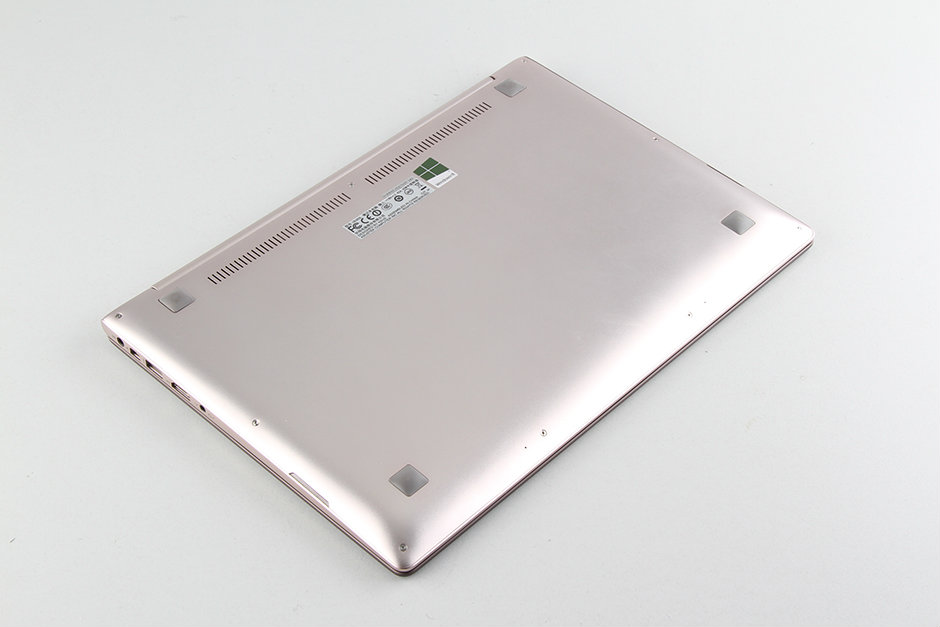
pry up the bottom case with a pry bar, lift up the bottom case and remove it.


after the bottom case was removed, we can get access the battery, speakers, wireless lan card, hard drive, heat sink and cooling fan.
remove the screws securing the battery, and disconnect the battery power cable and two speakers cable

Asus UX303LN battery has been removed
Asus UX303LN come with a 11.31v, 50wh li-polymer battery, asus p/n: C31N1339
remove the screws securing the hard drive

Asus UX303LN come with a seagate 500GB hard drive
Asus UX303LN provide a spare mSATA port for users upgrade SSD.
the right cooling fan

Asus UX303LN wireless card
Asus UX303LN heat sink and cooling fan
the cooling fan come from SUNON
Asus UX303LN motherhboard
NVIDIA GeForce GT 840M with 2GB DDR3

Intel Core i7 4510U Processor

4 GB SK hynix RAM Memory Integrated On the motherboard
Asus UX303LN also have a spare ram slot

Asus UX303LN plam rest
No comments:
Post a Comment